Introduction
For this tutorial, you need jenkins installed. You can run in docker with this tutorial Quick start with jenkins in docker.
The pipeline is better because:
- you can reuse everything you did
- you can put your build code inside project together with your code
- you can version the job code
- the change in pipeline is showed in “changes” inside job history
All changes in git the job is started. With Jenkinsfile(file with pipeline script) inside your git project, all changes in pipeline or your project the job will start and the modification is logged by jenkins.
Installing Node.js tool
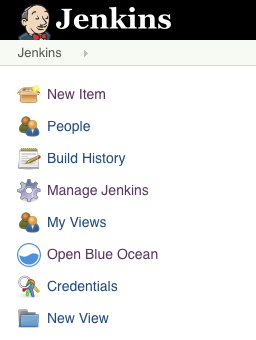
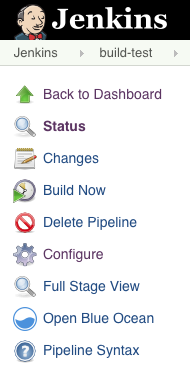
In home of jenkins, click on Manage Jenkins:
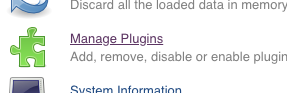
Click on Manage Plugins:
In Plugin manager, click on Available tab and after load the tab, search the plugins.

Search for nodejs and mark the checkbox.

Click on button “Download now and install after restart”.

On next screen, mark the checkbox “Restart Jenkins when installation is complete and no jobs are running”.
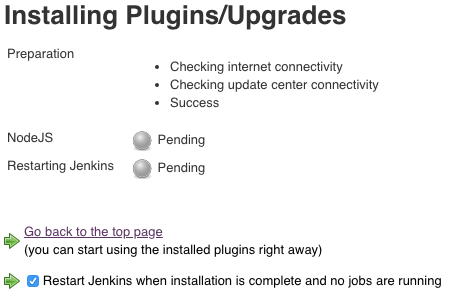
Wait a moment, if the screen not change, go to jenkins home clicking in jenkins’s logo on top, in the left side of the site.
Configuring Node.js tool
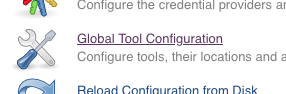
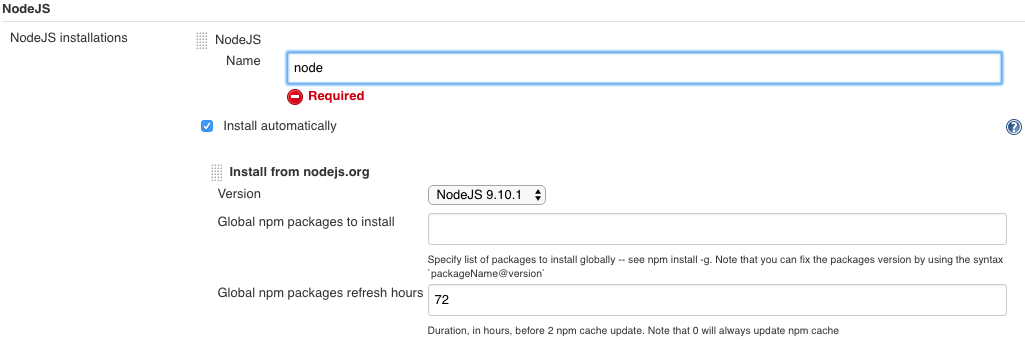
After installed and restarted, go to jenkins’s home > Manage Jenkins > Global Tool Configuration.
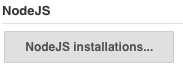
Search for NodeJS and click on NodeJS instalation button.
Put a name for node configuration, ex: node. Select the version of node that you need.
Test the nodejs plugin
OK. NodeJS is installed with sucess. Let’s try it.
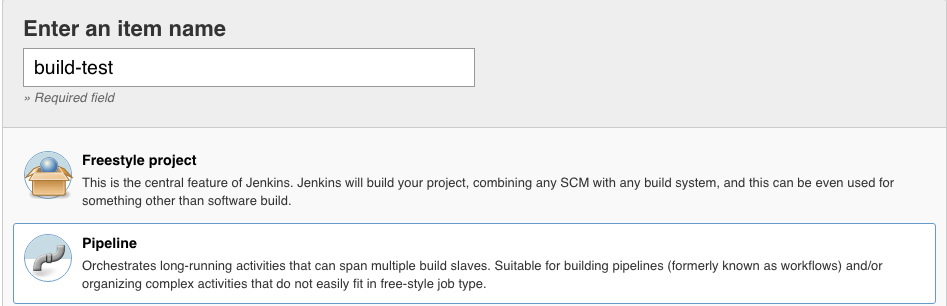
Go to jenkins’s homne, and click on New Item on jenkins’s menu.
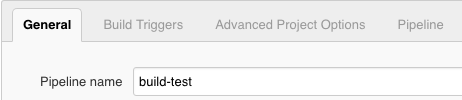
Let’s create a job. Name it with build-test and select Pipeline. Click on “OK”.
You will see this:
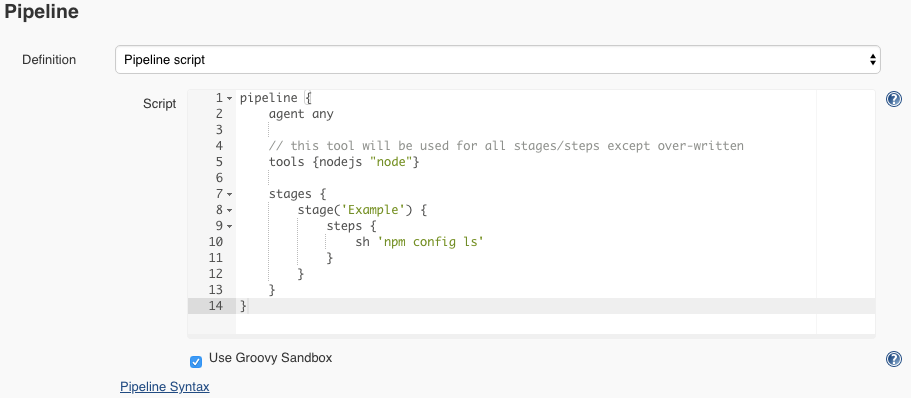
In pipeline, past this code:
pipeline {
  agent any

  tools {nodejs “node”}

  stages {
    stage(‘Example’) {
      steps {
        sh ‘npm config ls’
      }
    }
  }
}
The job will be like this:
Pipeline explanation
Before continue, let’s understand the pipeline job:
agent any
The job will run in any jenkins agent.
- You can have a lot of jenkins nodes, one master and some slaves, and the job will run in any node.
- You can run the job on specific jenkins, ex: You have 3 jenkins with Linux and one with Windows. You can run this job only in jenkins slave with Windows.
tools {nodejs “node”}
This line search for nodejs tool named “node” and use it in pipeline. It’s necessary for next scripts find the commands.
stages {
Stages is the inicialization from pipeline steps.
stage(‘Example’) {
  steps {
    ...
  }
}
This commands start a new stage named “Example” and run the steps inside this stage.
sh ‘npm config ls’
It execute a sh script in machine. With this, we can test the npm running correctly.
Running the test
Now, let’s run the script. Save the job. Inside the job, in left menu, click on Build Now.
Wait some time for the build apear in build history below the menu (If necessary, reload the page).
After the build over, the ball can be red or blue. If the ball is blue, the job is builded with success.
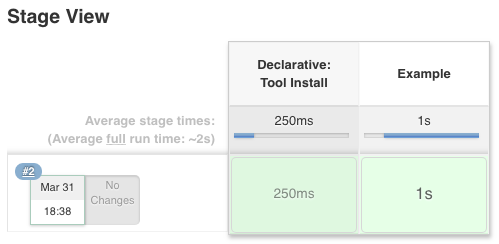
In center of page, you can visualize the stage view.
You can see the build log clicking on blue ball inside build history. You will see this:
Started by user Gustavo
Running in Durability level: MAX_SURVIVABILITY
[Pipeline] node
Running on Jenkins in /var/jenkins_home/workspace/build-test
[Pipeline] {
[Pipeline] stage
[Pipeline] { (Declarative: Tool Install)
[Pipeline] tool
[Pipeline] envVarsForTool
[Pipeline] }
[Pipeline] // stage
[Pipeline] withEnv
[Pipeline] {
[Pipeline] stage
[Pipeline] { (Example)
[Pipeline] tool
[Pipeline] envVarsForTool
[Pipeline] withEnv
[Pipeline] {
[Pipeline] sh
[build-test] Running shell script
+ npm config ls
; cli configs
metrics-registry = "https://registry.npmjs.org/"
scope = ""
user-agent = "npm/5.6.0 node/v9.10.1 linux x64"

; node bin location = /var/jenkins_home/tools/jenkins.plugins.nodejs.tools.NodeJSInstallation/node/bin/node
; cwd = /var/jenkins_home/workspace/build-test
; HOME = /var/jenkins_home
; "npm config ls -l" to show all defaults.

[Pipeline] }
[Pipeline] // withEnv
[Pipeline] }
[Pipeline] // stage
[Pipeline] }
[Pipeline] // withEnv
[Pipeline] }
[Pipeline] // node
[Pipeline] End of Pipeline
Finished: SUCCESS
Ok. The build test right. Let’s create a real node job.
Testing the application
Go to jenkins’s home, click on “new job”. Select pipeline and create the job named “node_test”, and put this script:
pipeline {
  agent any

  stages {
    stage('Cloning Git') {
      steps {
        git 'https://github.com/gustavoapolinario/microservices-node-example-todo-frontend.git'
      }
    }
  }
}
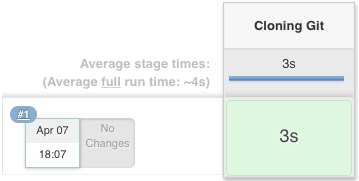
Test this job, it will download a node project to your jenkins. The stage view need be:
Now, in job screen. Click on “configure” and let’s change the code.
pipeline {
  agent any

  tools {nodejs "node"}

  stages {

    stage('Cloning Git') {
      steps {
        git 'https://github.com/gustavoapolinario/microservices-node-example-todo-frontend.git'
      }
    }

    stage('Install dependencies') {
      steps {
        sh 'npm install'
        sh 'npm run bowerInstall'
      }
    }

    stage('Test') {
      steps {
         sh 'npm test'
      }
    }
  }
}
After cloning step, we install the npm dependencies and the bower dependencies using npm run. Finally, the test is executed.

All right, the application is tested with success.
Pipeline inside project
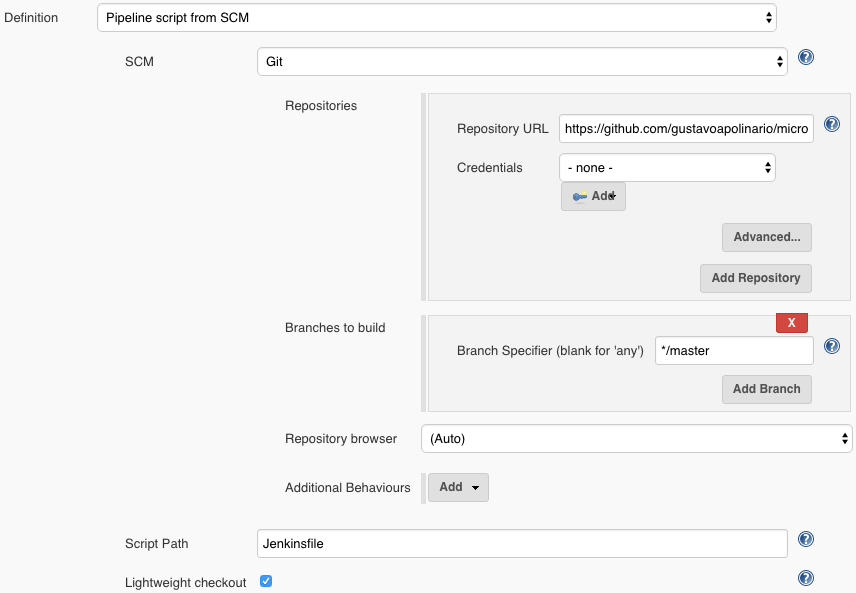
Now, put the script of pipeline inside your git project in a file named Jenkinsfile.
Go back to jenkins and change the job.
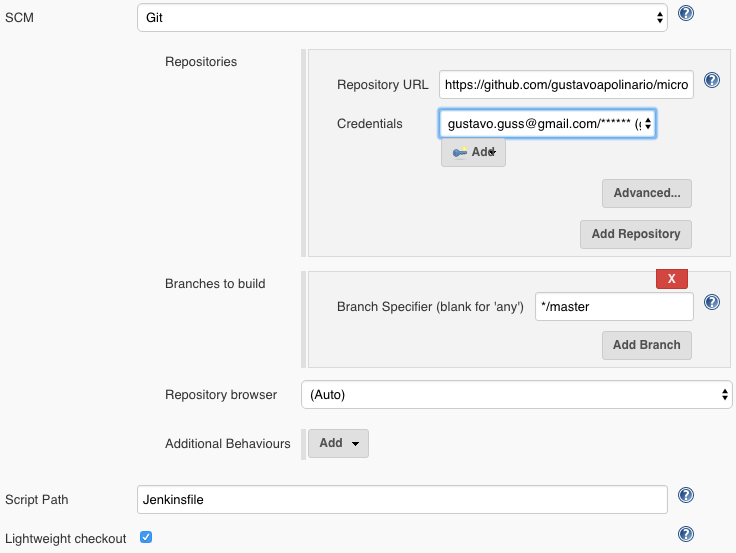
First step, change the definition of pipeline job to “Pipeline script from SCM”.

Select Git on SCM Select. Put your git repository on Repository URL.
Git credentials
If you need credential to access your git repository, click on “Add” button.
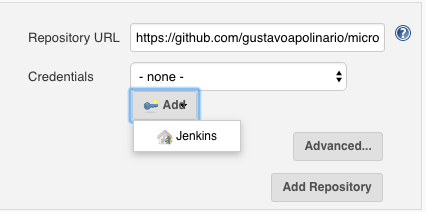
Add your git credentials.
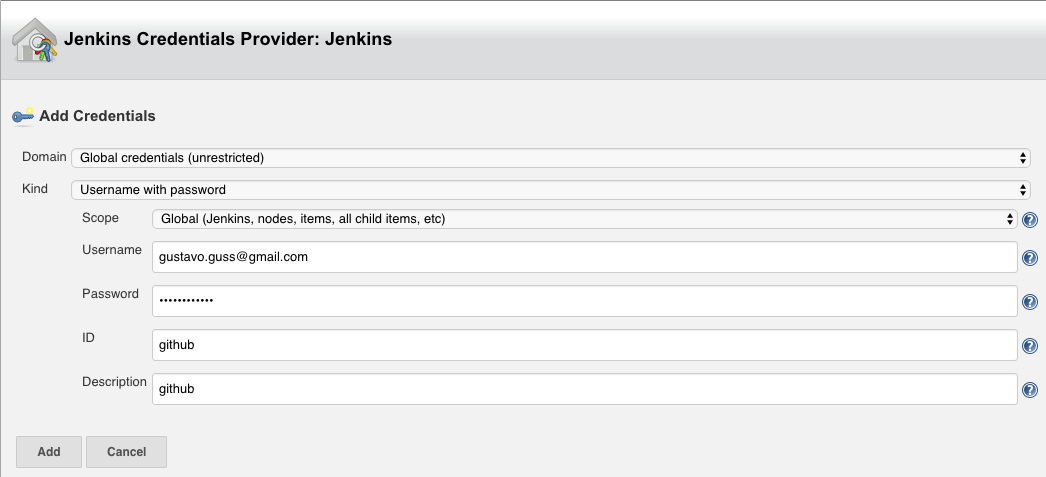
And the configuration will be right with your credentials.
We have the node project tested. Now we can build the docker container with our project.
Soon.